The studio shelf / Resources
Supplies
A small set of practical tools for drawing the figure. Start simply and put them to work.
Start with one drawing medium.Choose graphite or charcoal, then add paper, an eraser, a sharpener if needed, and a board. Build your kit as your practice grows.
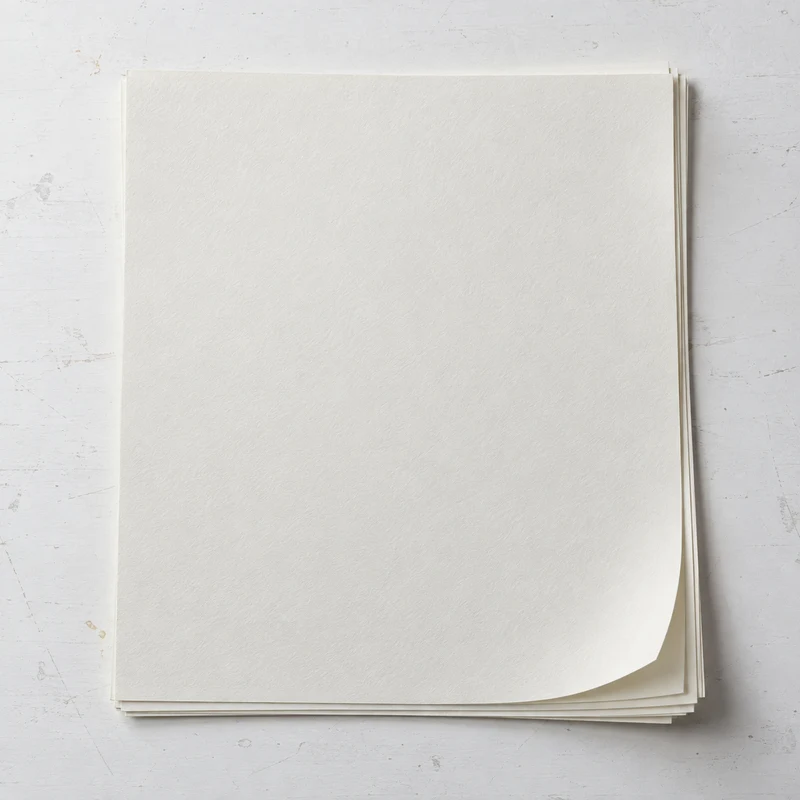
Drawing paper
A surface with enough texture to hold your marks.
- What to look for
- Start with medium-tooth drawing paper. An 18 × 24 inch sheet gives you room to draw from the shoulder; smaller sheets work well for thumbnails.
- In practice
- Use inexpensive paper for quick studies and save sturdier drawing paper for longer work.
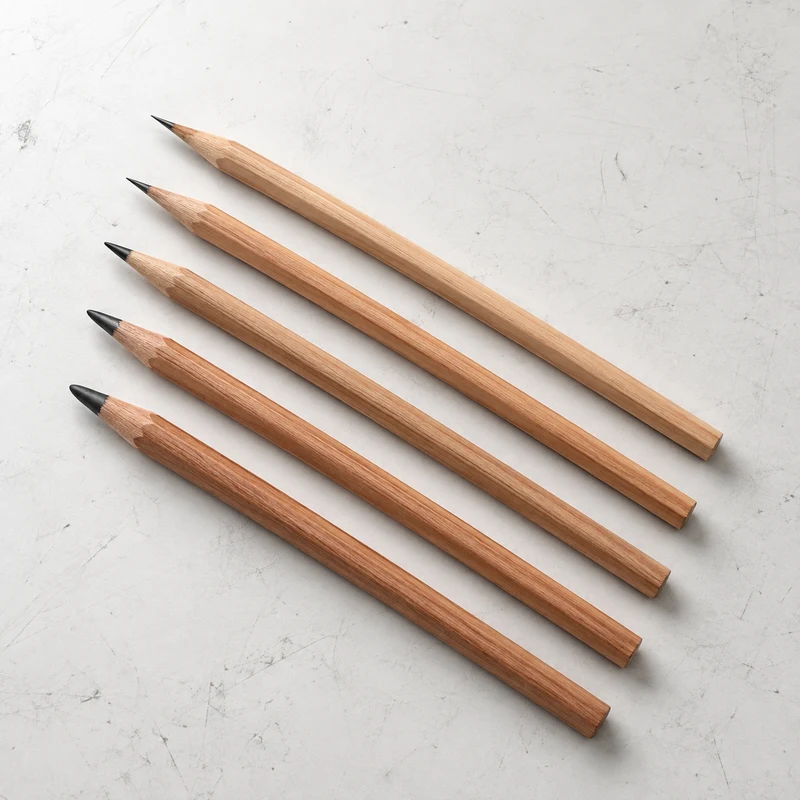
Graphite pencils
Recommended grades: 6H, 2H, 2B, 6B, and 8B.
- What to look for
- 6H and 2H offer harder, lighter marks. 2B bridges construction and shading; 6B and 8B give you softer, darker marks.
- In practice
- Begin lightly with the harder grades. Switch to a softer grade for dark values rather than pressing hard enough to dent the paper.
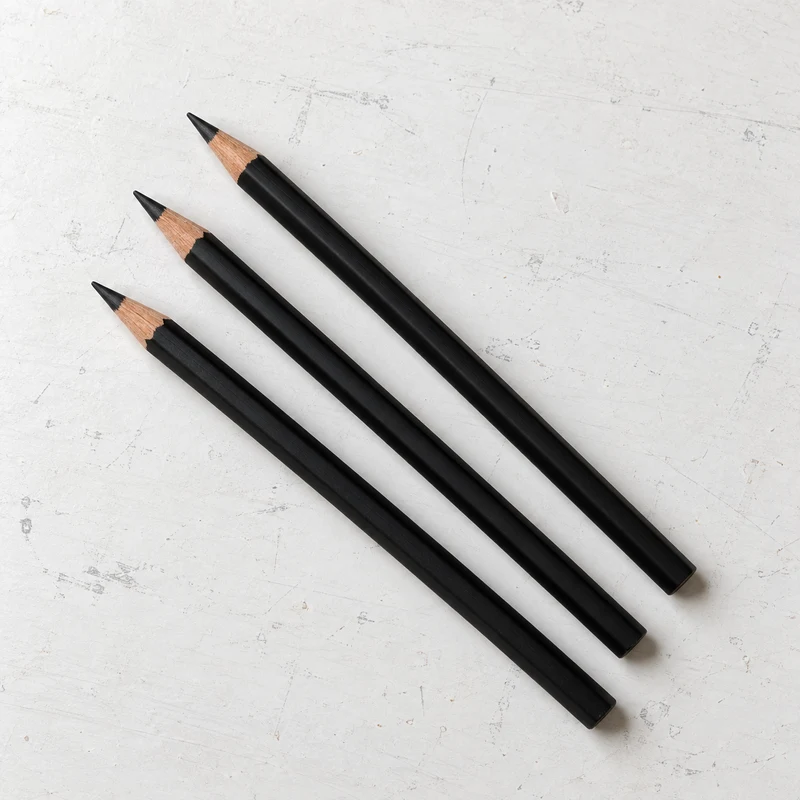
Charcoal pencils
For controlled charcoal lines and focused dark accents.
- What to look for
- Choose artist charcoal pencils with a grade that suits your touch. Softer pencils produce darker marks more easily.
- In practice
- Use the point for small edges and accents, then compare them with the larger value shapes.
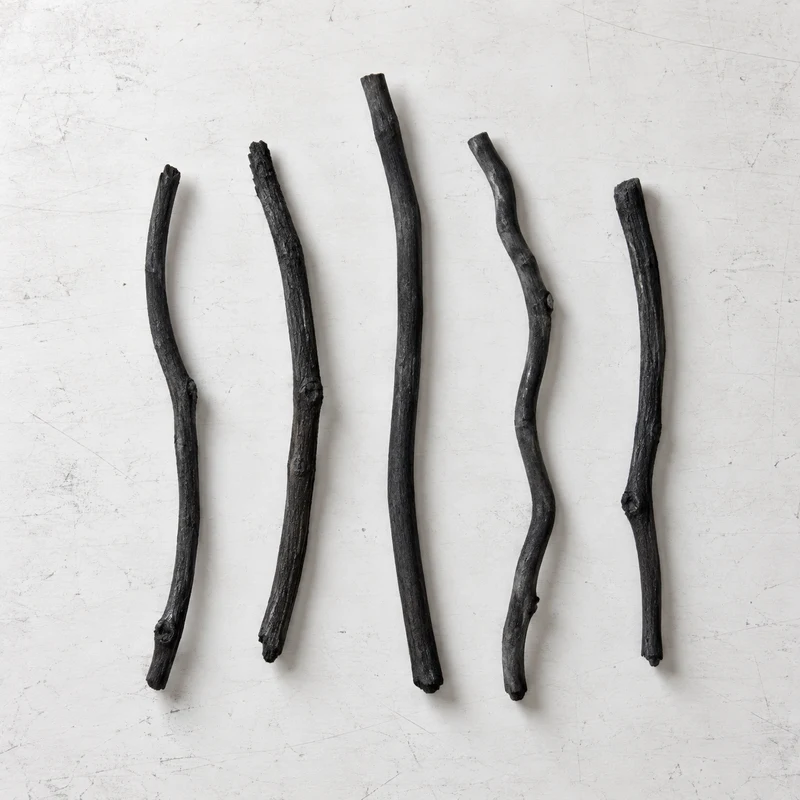
Vine charcoal
For light, adjustable gestures and broad first passes.
- What to look for
- Look for natural vine charcoal in a few thicknesses. Its light marks are easier to lift than compressed charcoal.
- In practice
- Use the side for large shapes and a light touch for construction. Lift and redraw as you compare the pose.
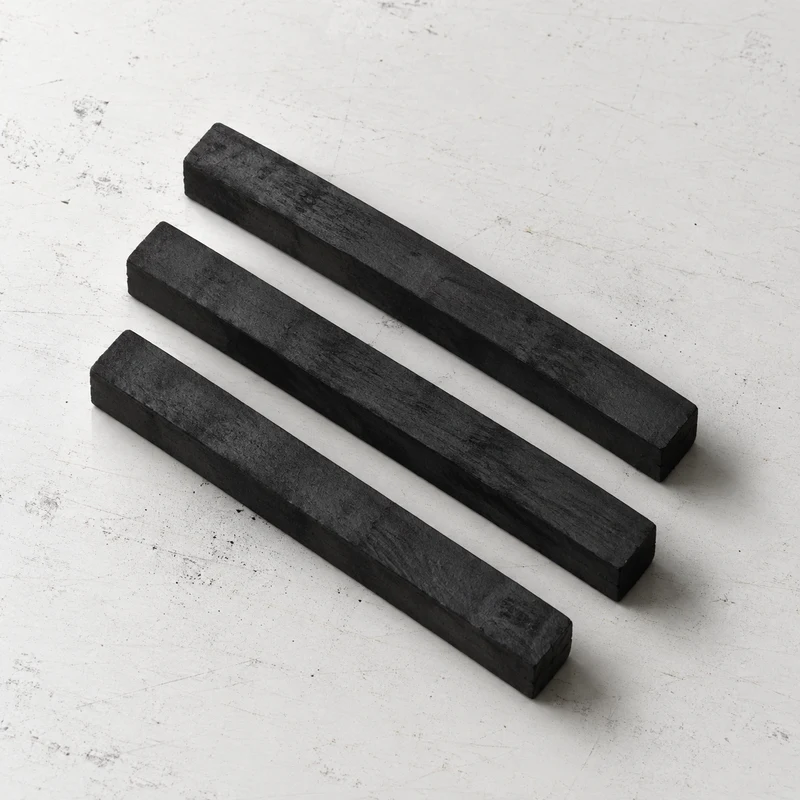
Charcoal sticks
For broad value masses and strong darks.
- What to look for
- Compressed charcoal sticks offer a dense dark and a broad working edge. Choose a softness that works with your paper.
- In practice
- Block in large shadows with the side. Add the darkest marks gradually; compressed charcoal is harder to erase.
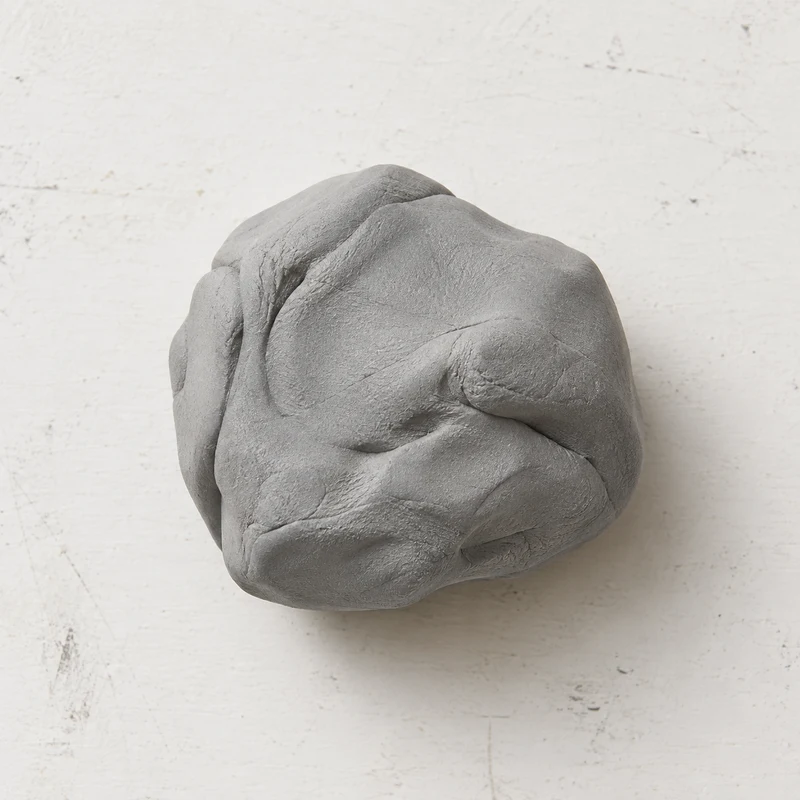
Kneaded eraser
For lifting tone and shaping lights.
- What to look for
- Choose a soft, pliable artist eraser that can be shaped into a point or flattened for broad areas.
- In practice
- Press and lift to lighten an area. Fold it to expose a clean surface rather than rubbing hard.
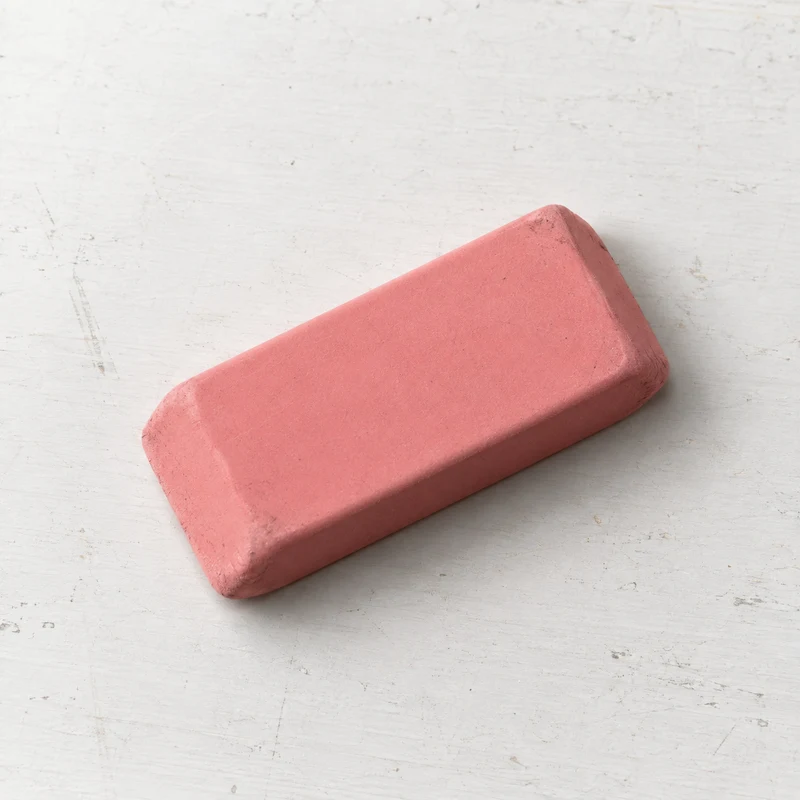
Rubber eraser
For removing graphite and cleaning up selected edges.
- What to look for
- Choose a soft artist rubber eraser that works with your drawing paper.
- In practice
- Test on a spare area first. Use gentle strokes and brush away crumbs to protect the surface.
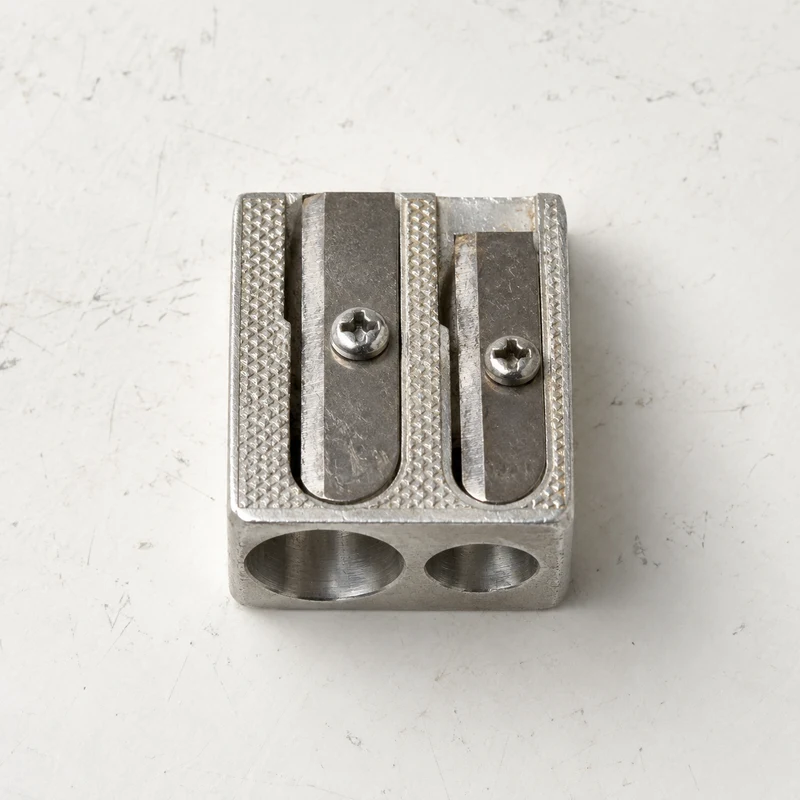
Pencil sharpener
For keeping a usable drawing point.
- What to look for
- A small manual sharpener with a sharp blade is enough to start. Choose a hole that fits your pencil.
- In practice
- Turn gently, especially with soft graphite or charcoal pencils. Check that your sharpener is suitable for the pencil.
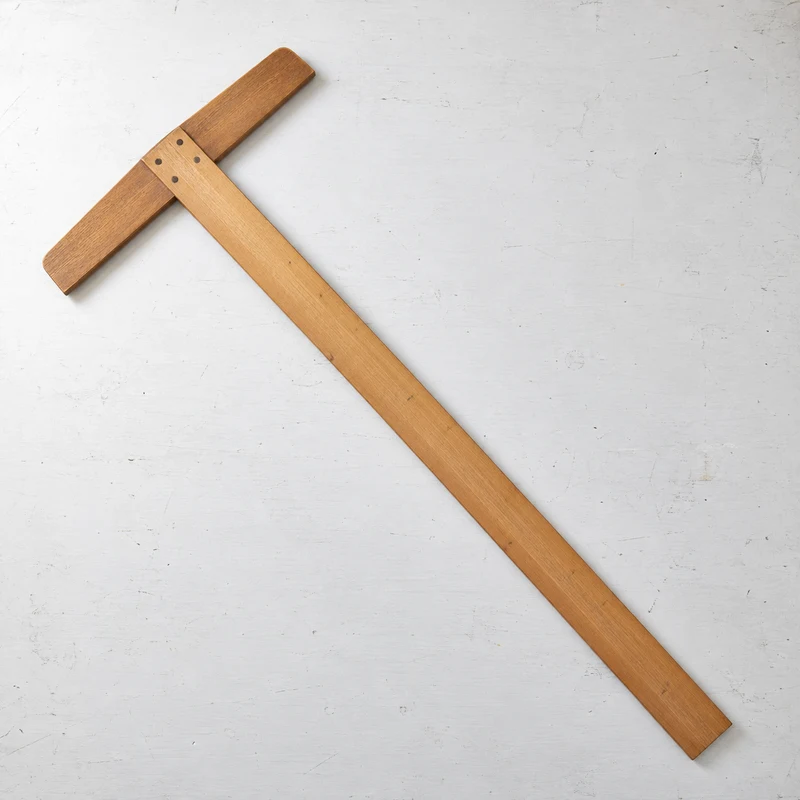
T-square
For setting up straight page borders and horizontal guides.
- What to look for
- Choose a rigid T-square with a head that rests securely against the straight edge of your drawing board.
- In practice
- Keep the head against the board edge while drawing guides. Use it for page setup, then return to freehand observation.
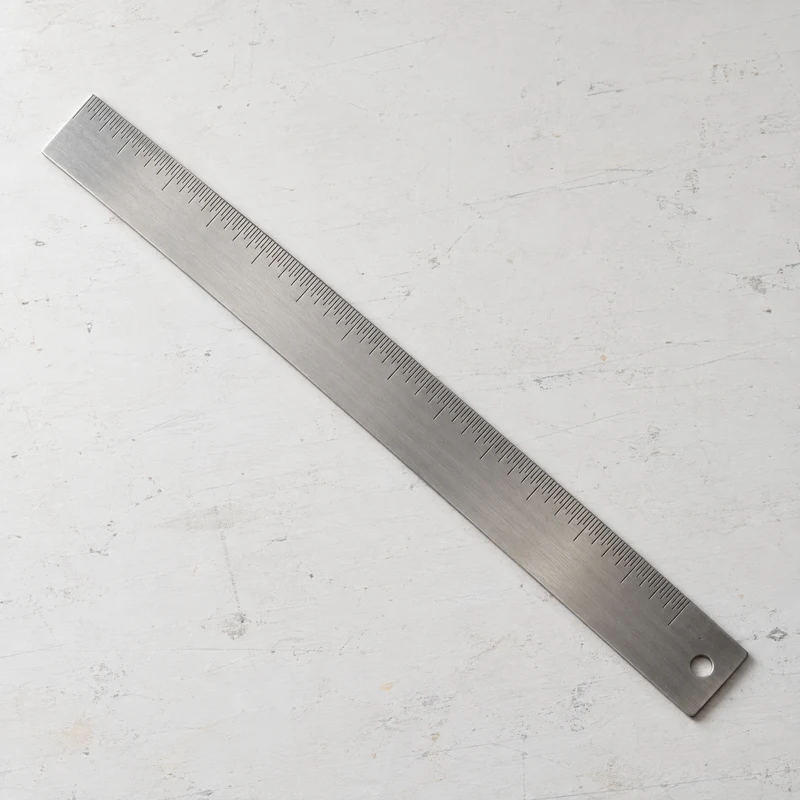
Metal ruler
For measuring the page and drawing clean straight guides.
- What to look for
- A metal ruler with clear markings and a smooth edge works well for page layout.
- In practice
- Use it for margins and measured guides. Keep your figure studies focused on comparing the pose by eye.
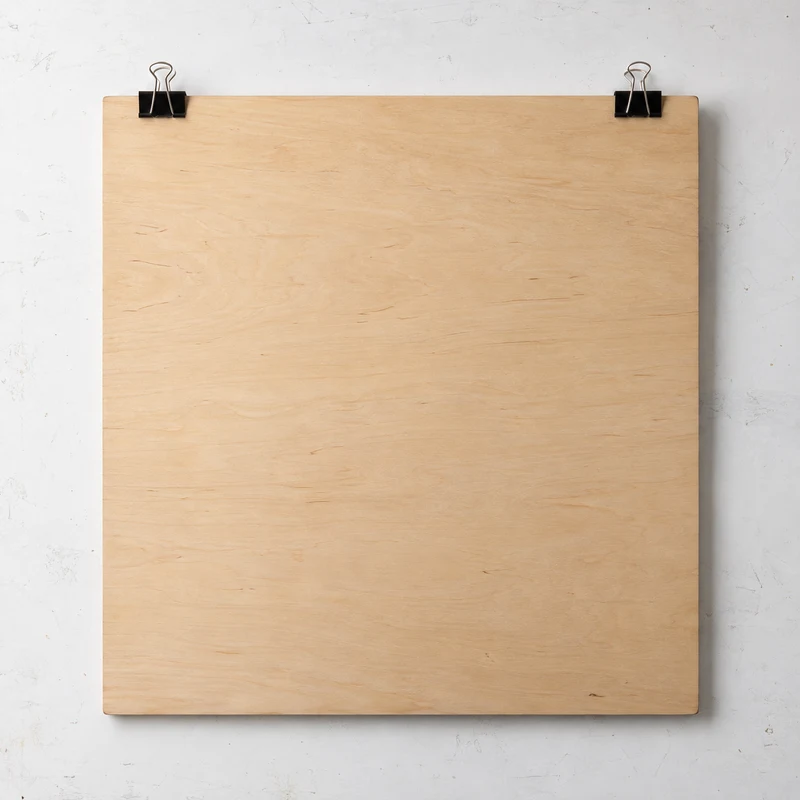
Drawing board and clips
For keeping the page supported while you compare the whole drawing.
- What to look for
- Use a flat, rigid board slightly larger than your paper, with clips to keep the sheet in place.
- In practice
- A smooth hardboard panel works. You do not need an expensive easel to begin.
Studio images illustrate supply types, rather than specific brands or products.
Back to your drawing →